Kamaji Console
This guide will introduce you to the basics of the Kamaji Console, a web UI to help you to view and control your Kamaji setup.
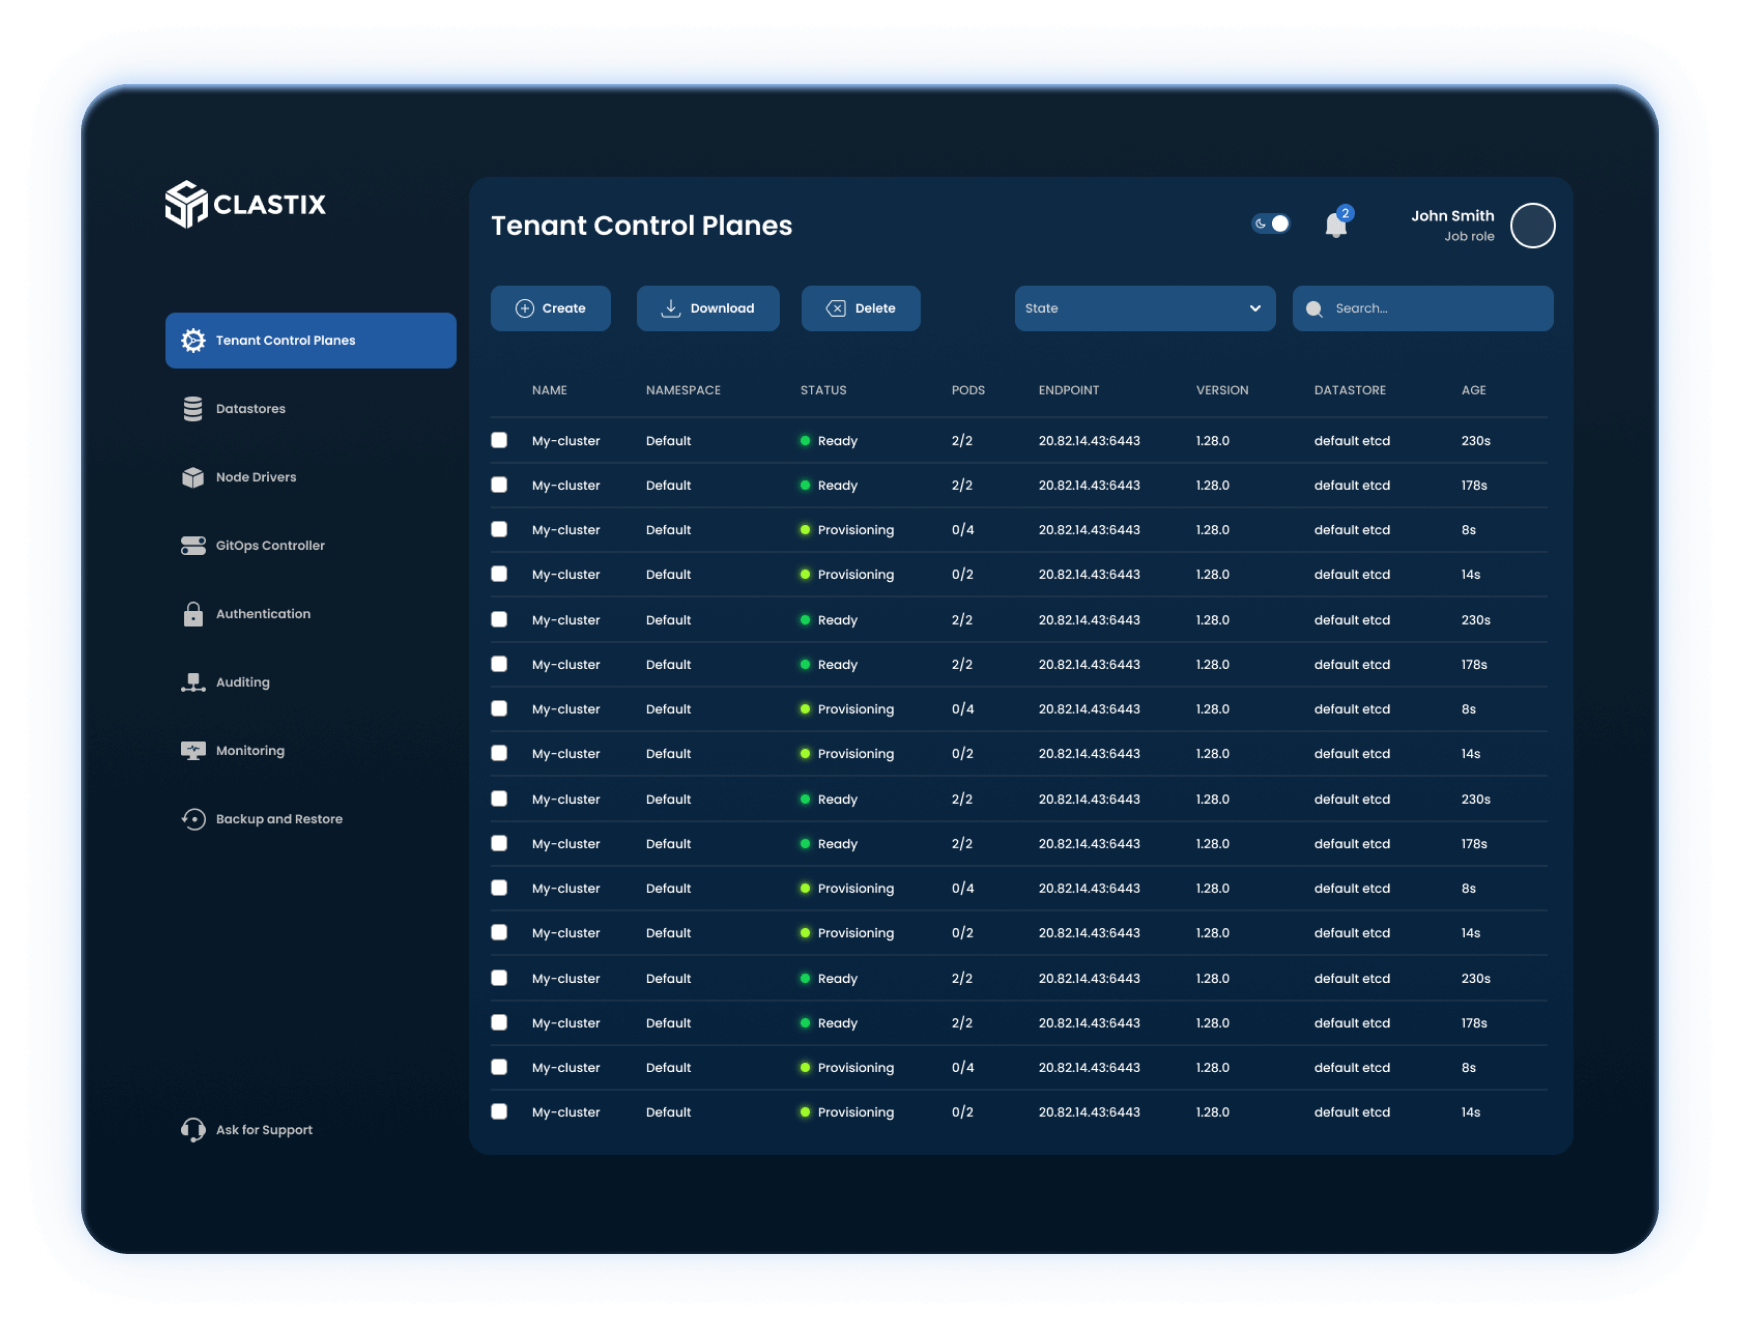
When you login to the console you are brought to the Tenant Control Planes, which allows you to quickly understand the state of your Kamaji setup at a glance. It shows summary information about all the Tenant Control Plane objects, including: name, namespace, status, endpoint, version, and datastore.
Install with Helm
The Kamaji Console is a web interface running on the Kamaji Management Cluster that you can install with Helm. Check the Helm Chart documentation for all the available settings.
The Kamaji Console requires a Secret in the Kamaji Management Cluster that contains the configuration and credentials to access the console from the browser. You can have the Helm Chart generate it for you, or create it yourself and provide the name of the Secret during installation.
Before to install the Kamaji Console, access your workstation, replace the placeholders with actual values, and execute the following command:
# The secret is required, otherwise the installation will fail
cat <<EOF | kubectl apply -f -
apiVersion: v1
kind: Secret
type: Opaque
metadata:
  name: kamaji-console
  namespace: kamaji-system
data:
  # Credentials to login into console
  ADMIN_EMAIL: <email>
  ADMIN_PASSWORD: <password>
  # Secret used to sign the browser session
  JWT_SECRET: <jwtSecret>
  # URL where the console is accessible: https://<hostname>/ui
  NEXTAUTH_URL: <nextAuthUrl>
EOF
Install the Chart with the release name console in the kamaji-system namespace:
helm repo add clastix https://clastix.github.io/charts
helm repo update
helm -n kamaji-system install console clastix/kamaji-console
helm status console -n kamaji-system
Access the Kamaji Console
Once installed, forward the console service to the local machine:
kubectl -n kamaji-system port-forward service/console-kamaji-console 8080:80
Forwarding from 127.0.0.1:8080 -> 3000
Forwarding from [::1]:8080 -> 3000
and point the browser to http://127.0.0.1:8080/ui to access the console. Login with credentials you stored into the secret.
Expose with Ingress
The Kamaji Console can be exposed with an ingress. Refer the Helm Chart documentation on how to configure it properly.
Additional Operations
The Kamaji Console offers additional capabilities unlocked by Clastix Enterprise Platform:
- Infrastructure Drivers Management
- Applications Delivery
- Centralized Authentication and Access Control
- Auditing and Logging
- Monitoring
- Backup & Restore